Standalone Widget
The Standalone widget allows you to bind a JOIN Story player to any element of your DOM.
Getting started
Create a standalone widget on Studio
New Widget
First you need to create a new widget. On first step, choose a Web widget.
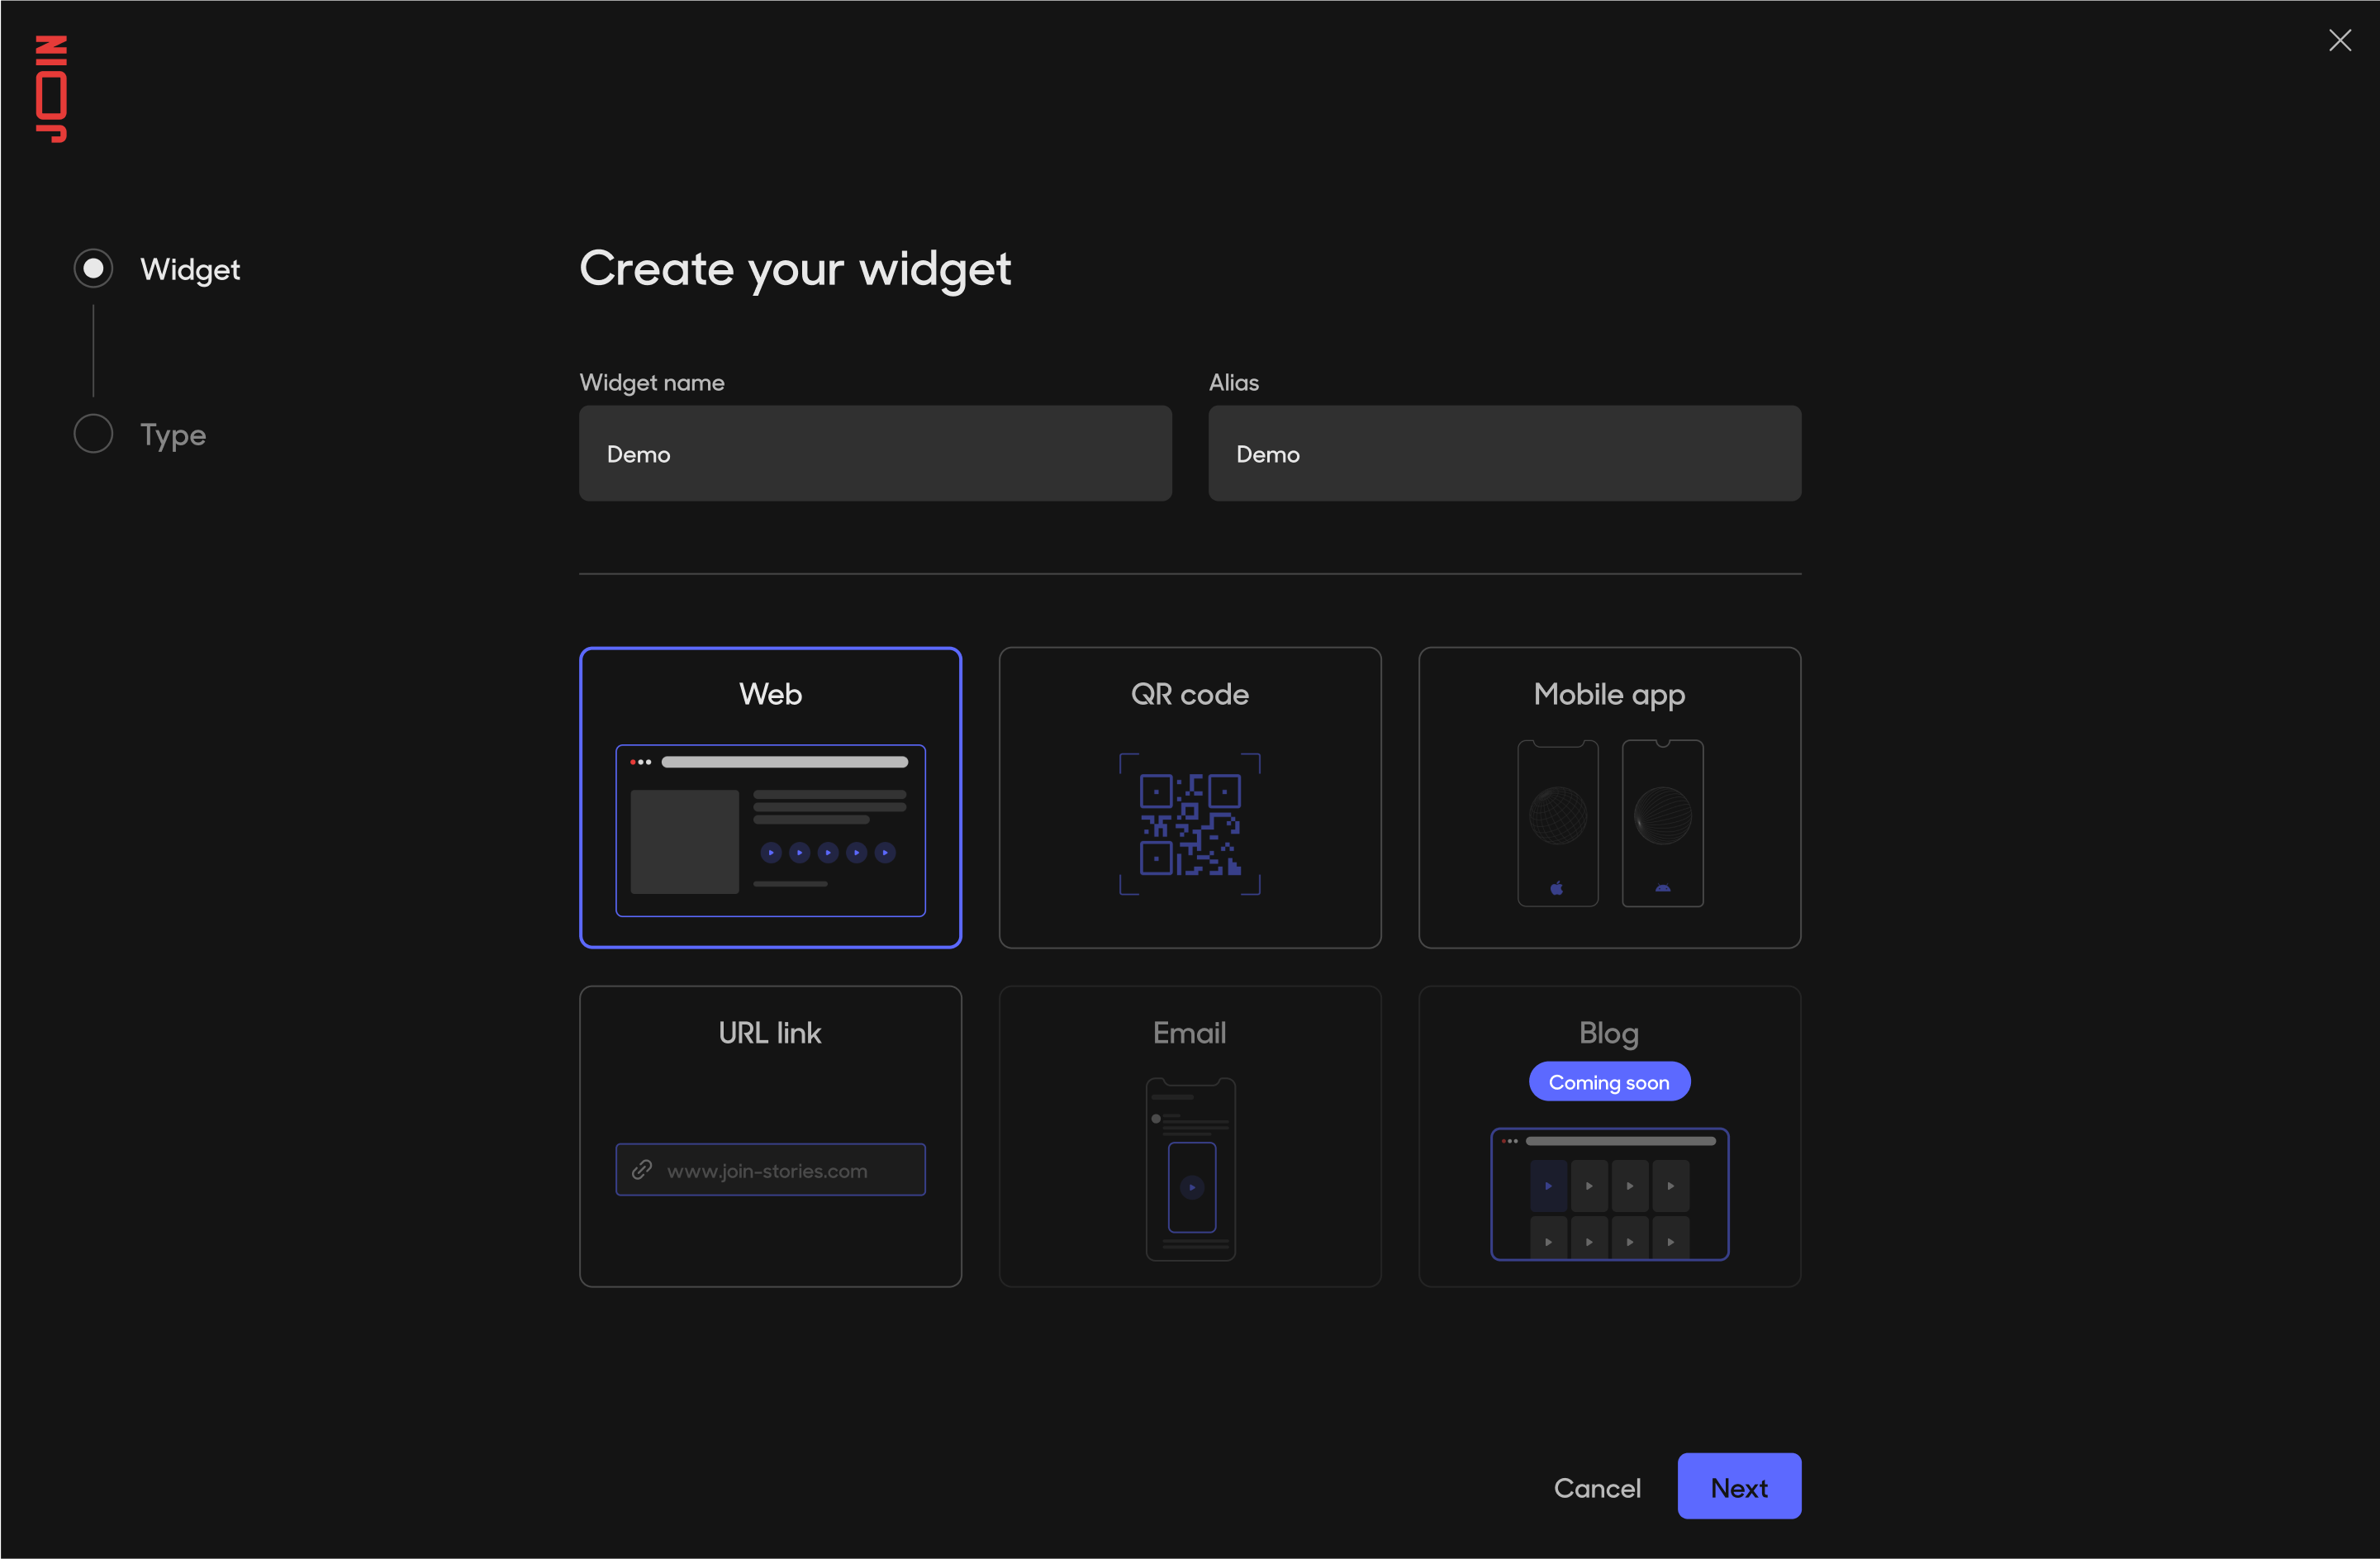
Create Web widget
On second step, choose Standalone type. Click on Create Widget.
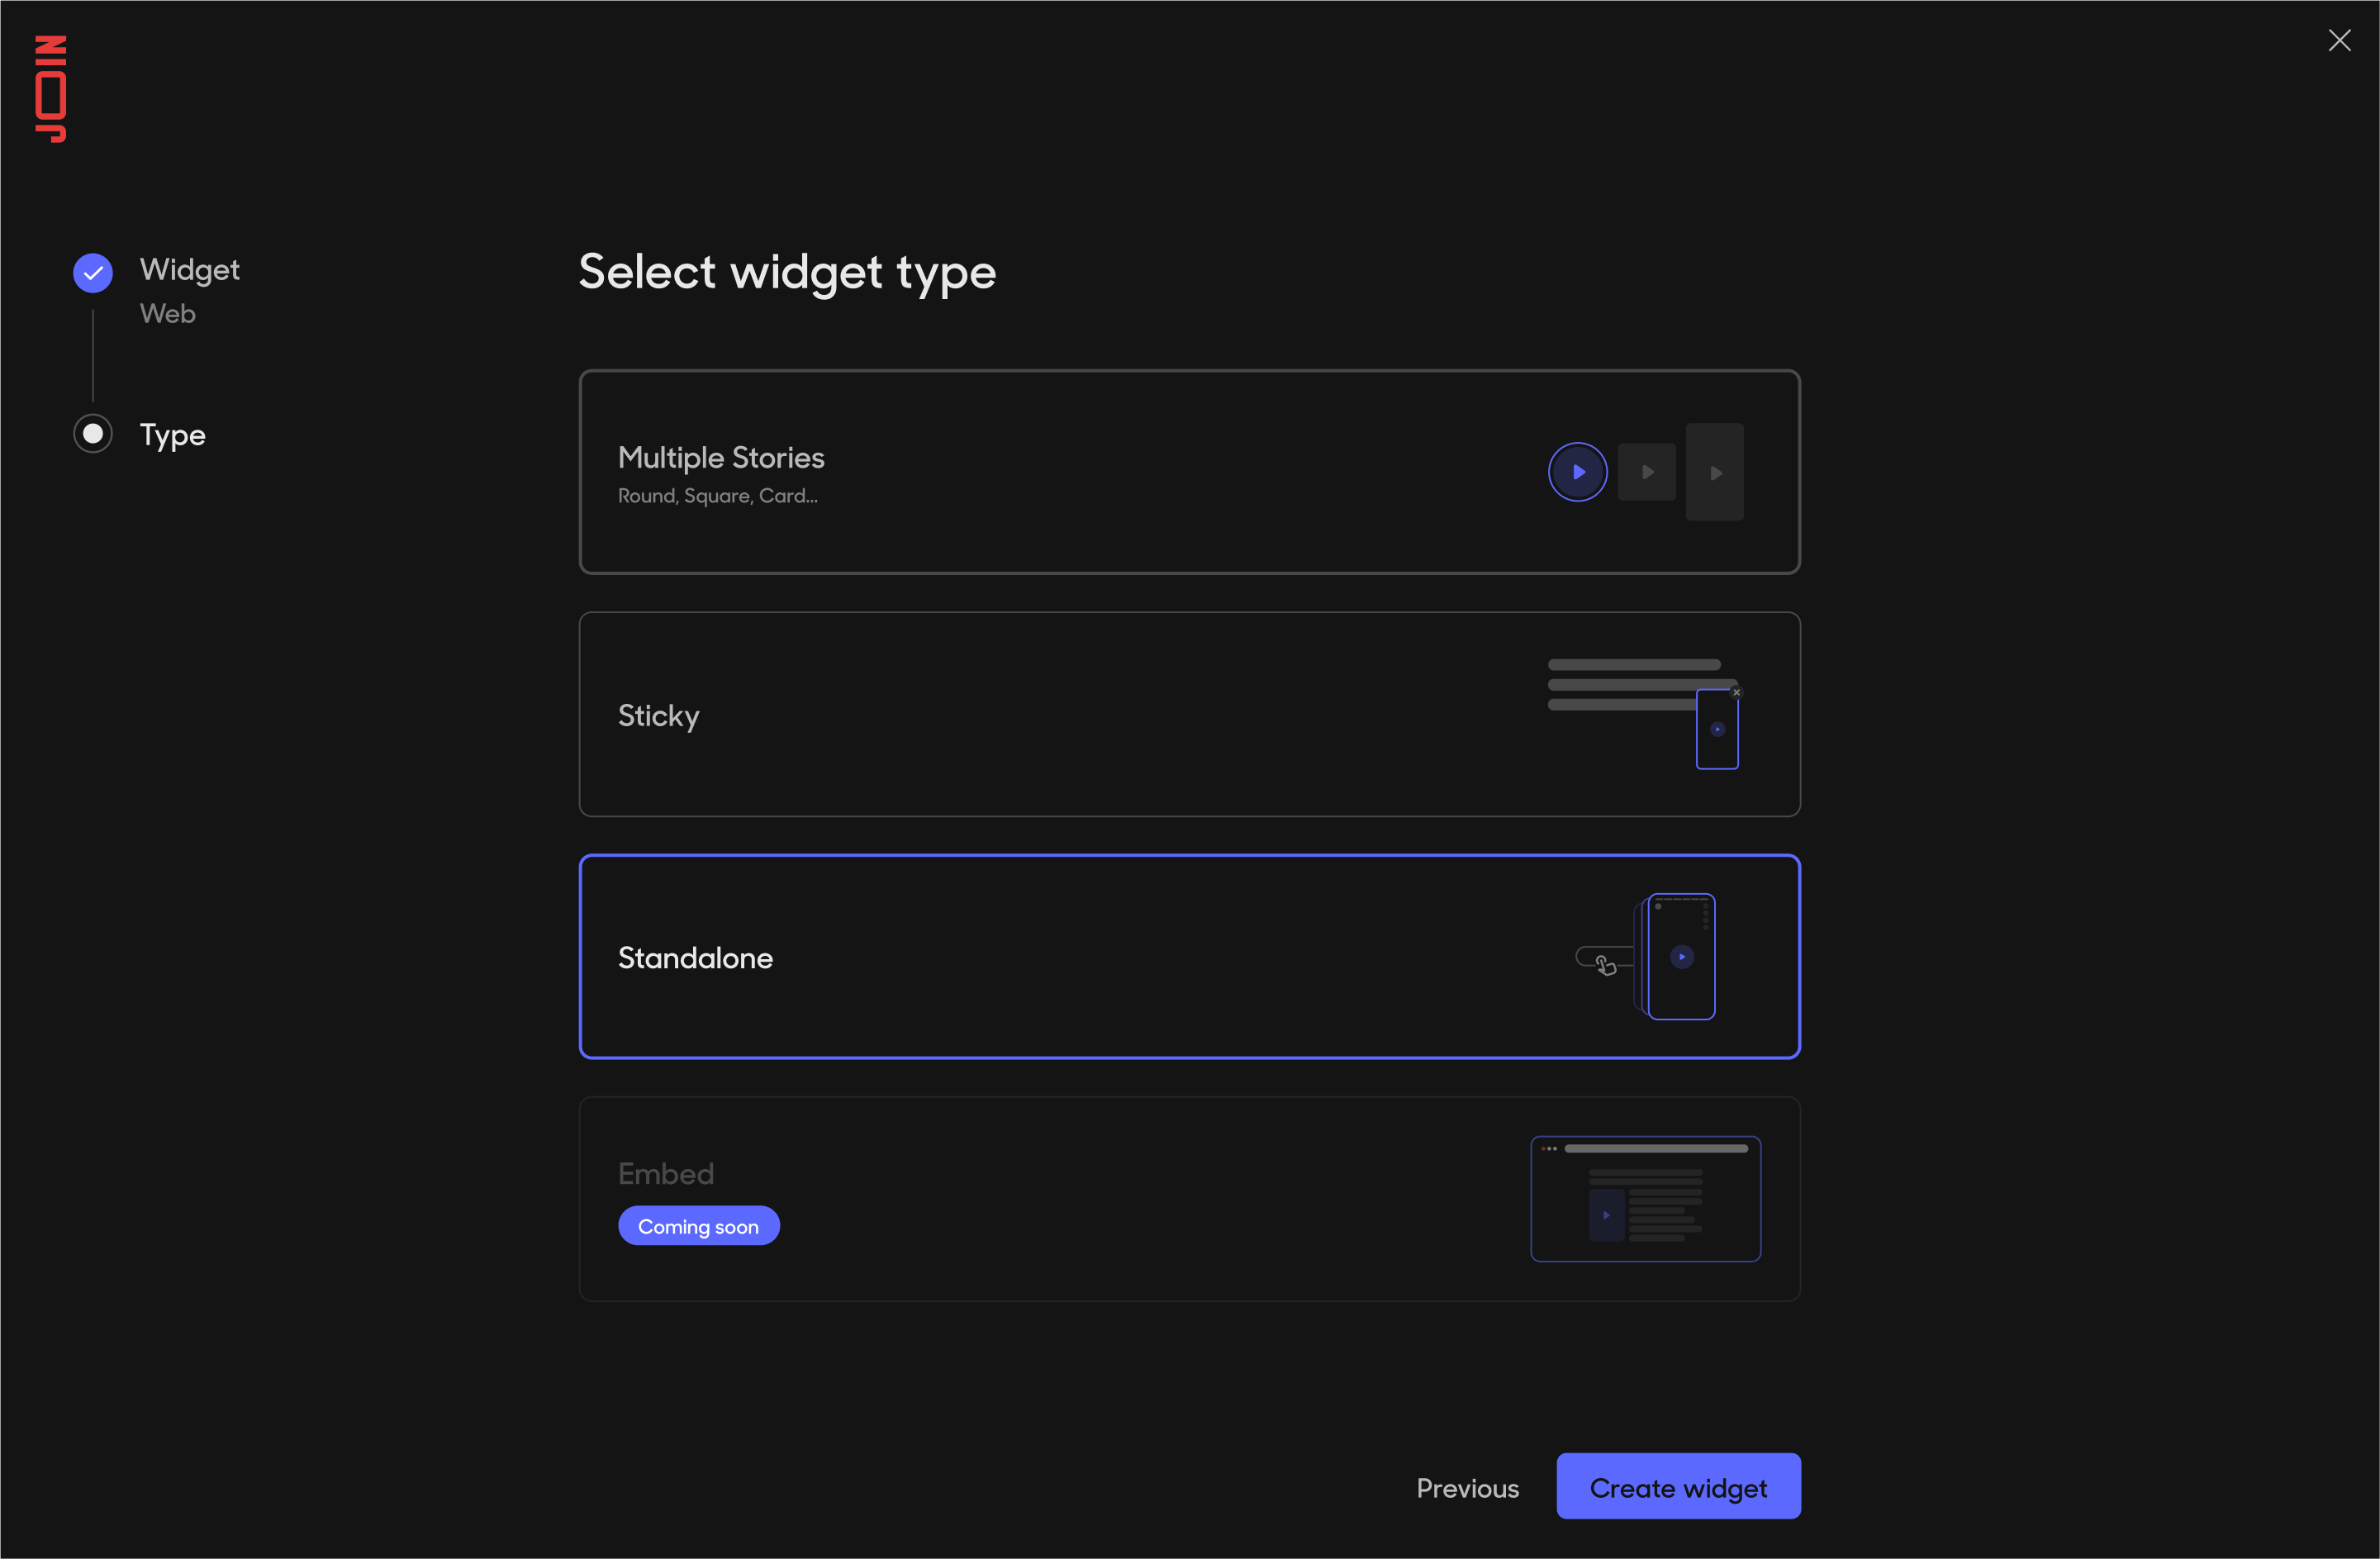
Choose Standalone type
Add Stories
You should be redirected to your newly created widget. Add the stories you will want to use, just like a normal widget.
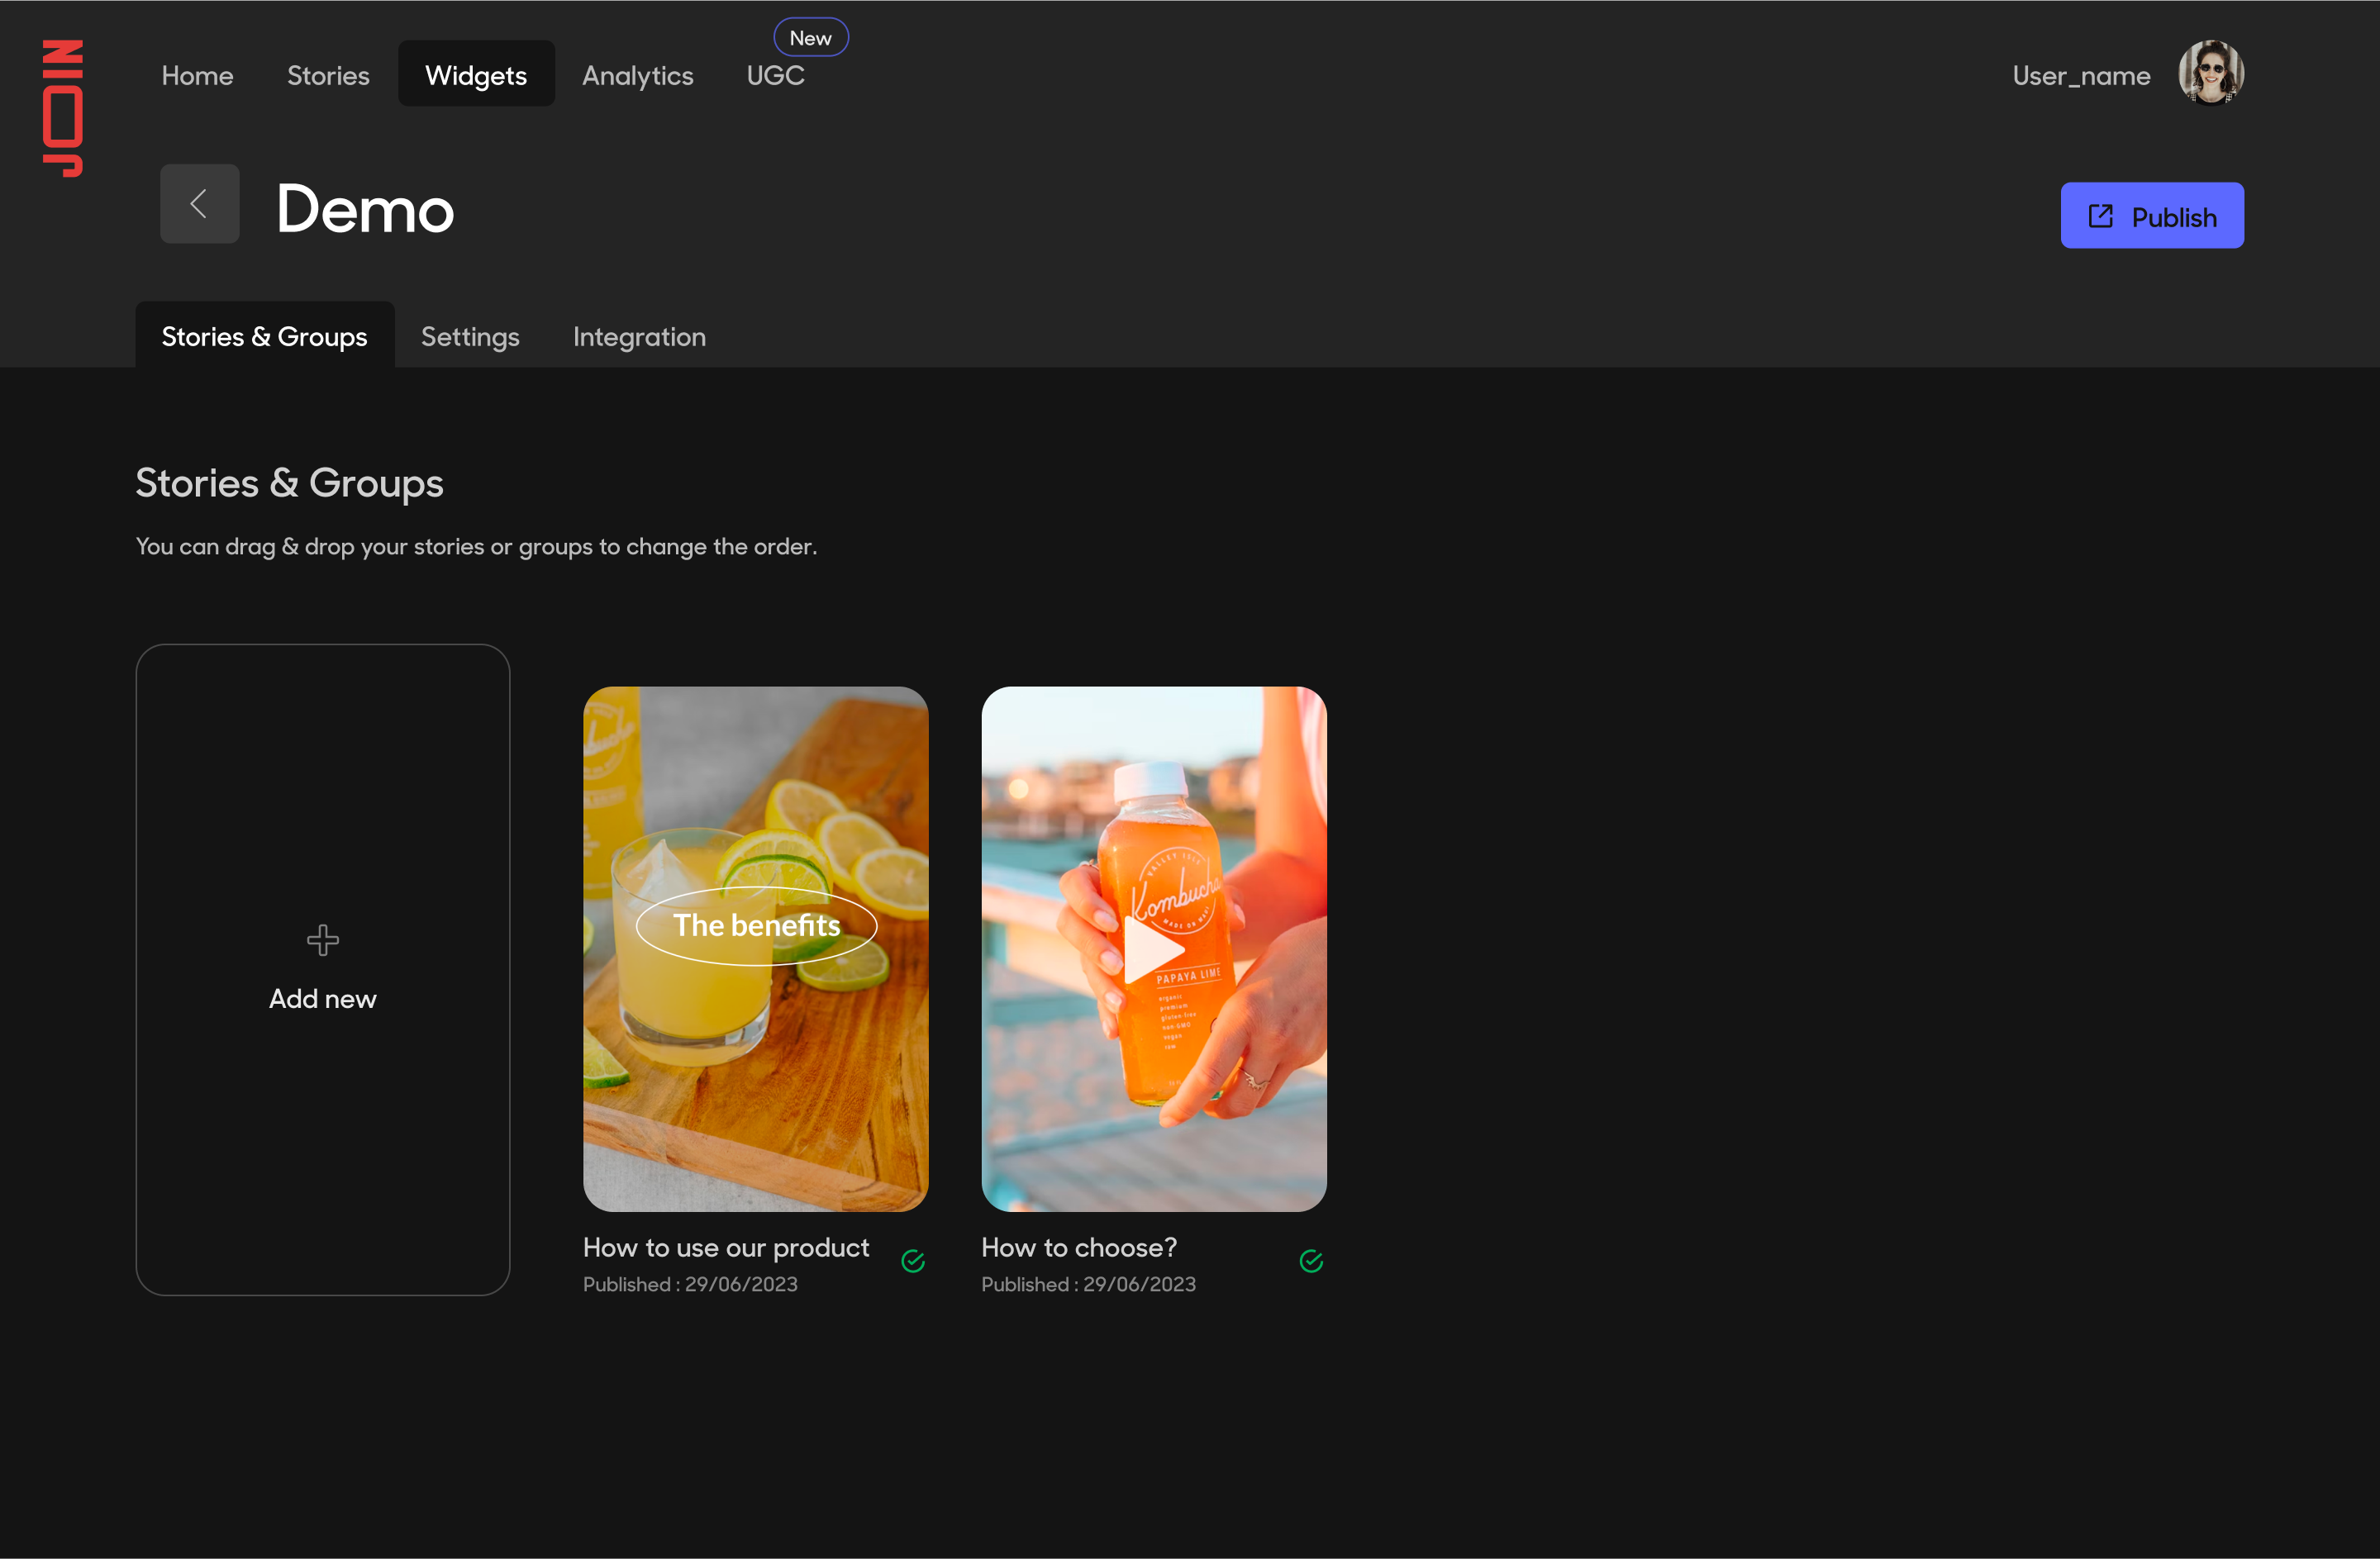
Add Stories to the widget
Check Integration tab
You need to note your widget alias and copy the widget script. You will need them for the next step.
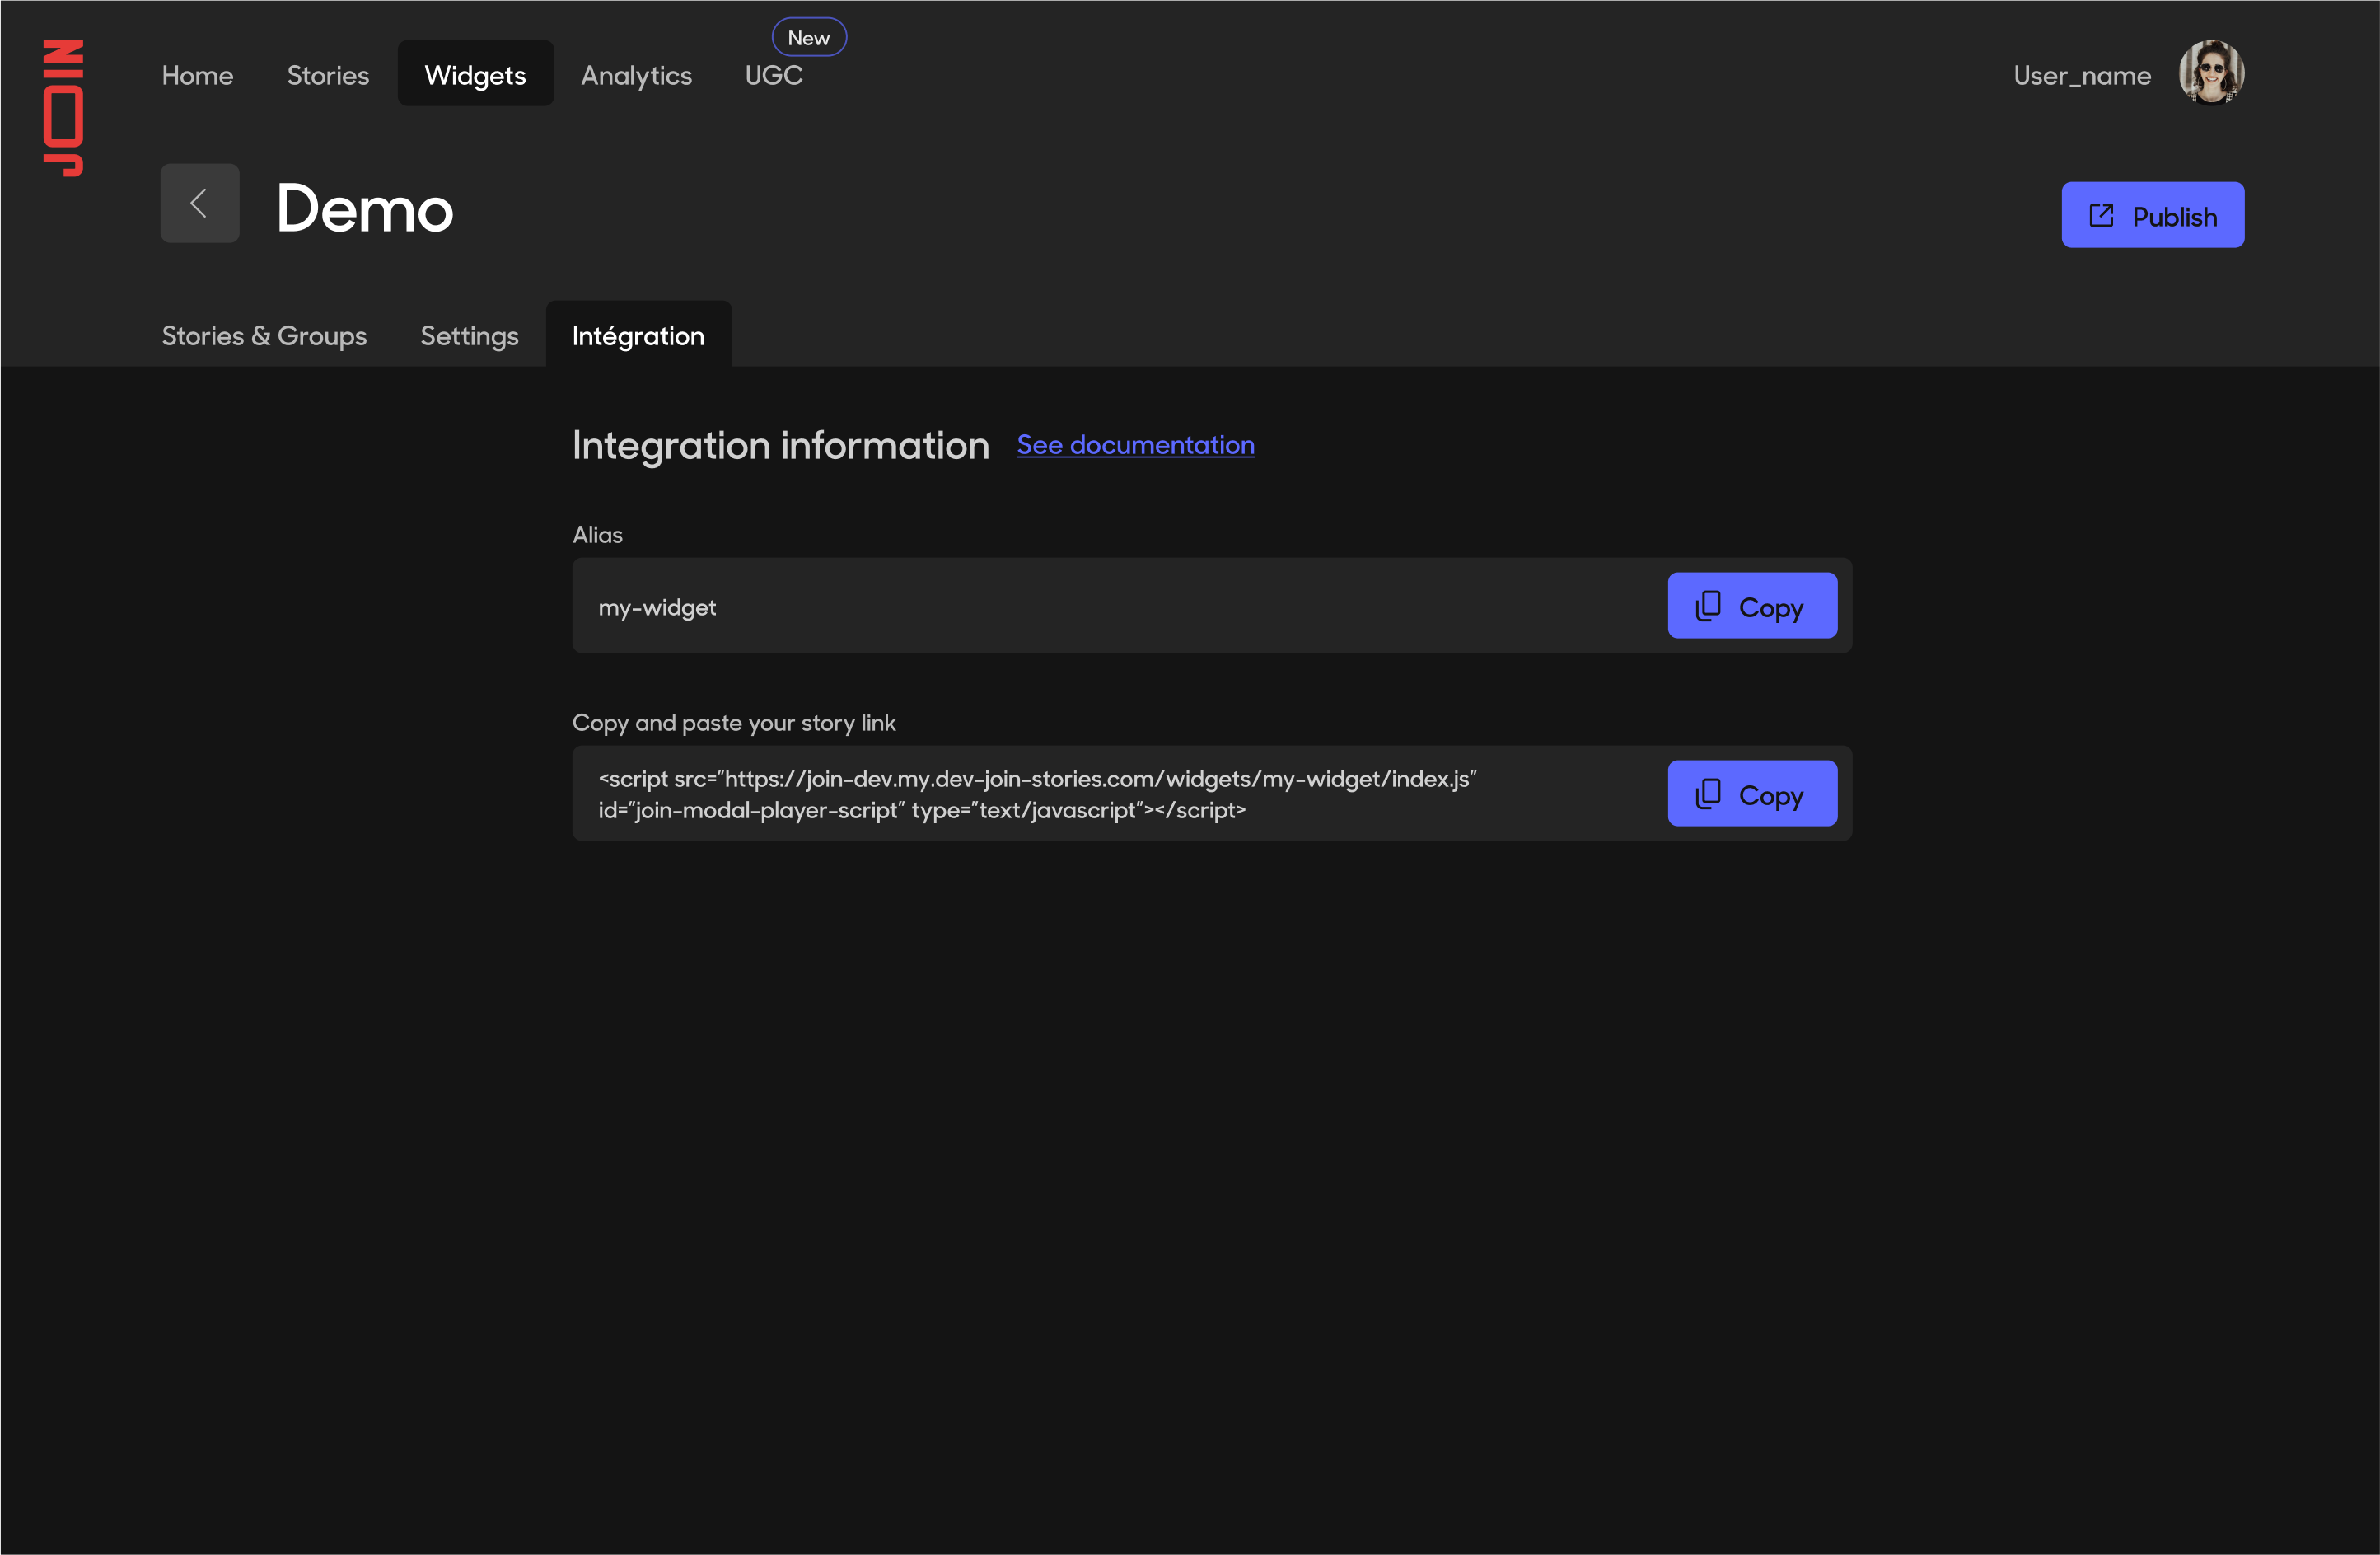
View integration details
Add script tag to your website
On your website, add script code from the previous step in <head> tag. It should look like this:
<!DOCTYPE html>
<html lang="en">
  <head>
    <meta charset="UTF-8" />
		...
    <script src="https://my-domain.join-stories.com/widgets/my-widget/index.js" id="join-modal-player-script" type="text/javascript"></script>
  </head>
  <body>
    ...
  </body>
</html>
Usage
Create a Player
The script exposes a class that allows you to create a Modal Player :
You need to pass the widget alias. It should be the same alias as the one in the script:
const player = new JoinModalPlayer('my-widget');
Player options
You can pass options to JoinModalPlayer:
const customPlayer = new JoinModalPlayer('my-widget', { autoplay: true })
| Name | Type | Default value | Description |
|---|---|---|---|
| enableAnalytics | Boolean | true | Enable / Disable analytics for the widget. |
| container | HTMLElement | body | any HTML node to attach the player to. By default it will be attached to body. |
| closable | Boolean | true | Is the modal closable. If set to false, it will automatically open the player on start. |
| autoplay | Boolean | false | Is the player automatically opened on start. |
| withBackground | Boolean | false | Display an opaque background behind the player. By default it will use a semi transparent one. |
| defaultMute | Boolean | false | Is the player muted by default. It will still respect user's choice. Only the initial state will change. |
| useShadowDom | Boolean | true | Is the player encapsulated in a Shadow DOM. ⚠️Use with caution, JoinModalPlayer works best with a Shadow DOM |
| analyticsCallback | Function | undefined | A callback to listen to analytics Events triggered by the widget. See Analytics for more informations. |
Open a story
After initializing your player, you can open a story by providing its index (Indexes start at 0) :
player.open(0); // Open first Story
You can also open a specific story, using its id:
player.open('fe88933b-8c88-4068-9ece-49baadfa6825'); // Open Story with _id: fe88933b-8c88-4068-9ece-49baadfa6825
When you are on the studio, on a story, you can find a story's id by looking at the url. It should look something like: https://studio.join-stories.com/stories/{STORY_ID}.
You can customize the starting point of the player's animation by passing an HTML node like this:
const button = document.getElementById('my-button');
player.open(0, button); // open first Story with animation originating from button
Close the player
While the player is open, you can close it like this:
player.close();
Destroy the player
If you don't need the player anymore and want to get rid of it, you can do like this:
player.destroy();
Targeting: Audiences
As with a normal widget, you can send custom data to filter its content. It works like this:
const dataAudience = {age: '21'};
player.sendAudienceData(dataAudience);
See Targeting: Audiences for more informations about audiences.
Advanced usage
If you need them, you can directly access your widget stories via the player instance:
console.log(player.widgetConfig.stories);
If you need to access the raw JSON, it is available directly in the window. You can do something like this:
document.addEventListener("DOMContentLoaded", () => {
  console.log(window.JOIN_ENV["my-widget"]);
});
Example
Basic example
Example with options
Example with Audiences
Customize Player experience
In Studio, you can adjust user experience. For this, you need to go to your widget page, then on Settings Tab. When done, dont forget to press the Publish button !
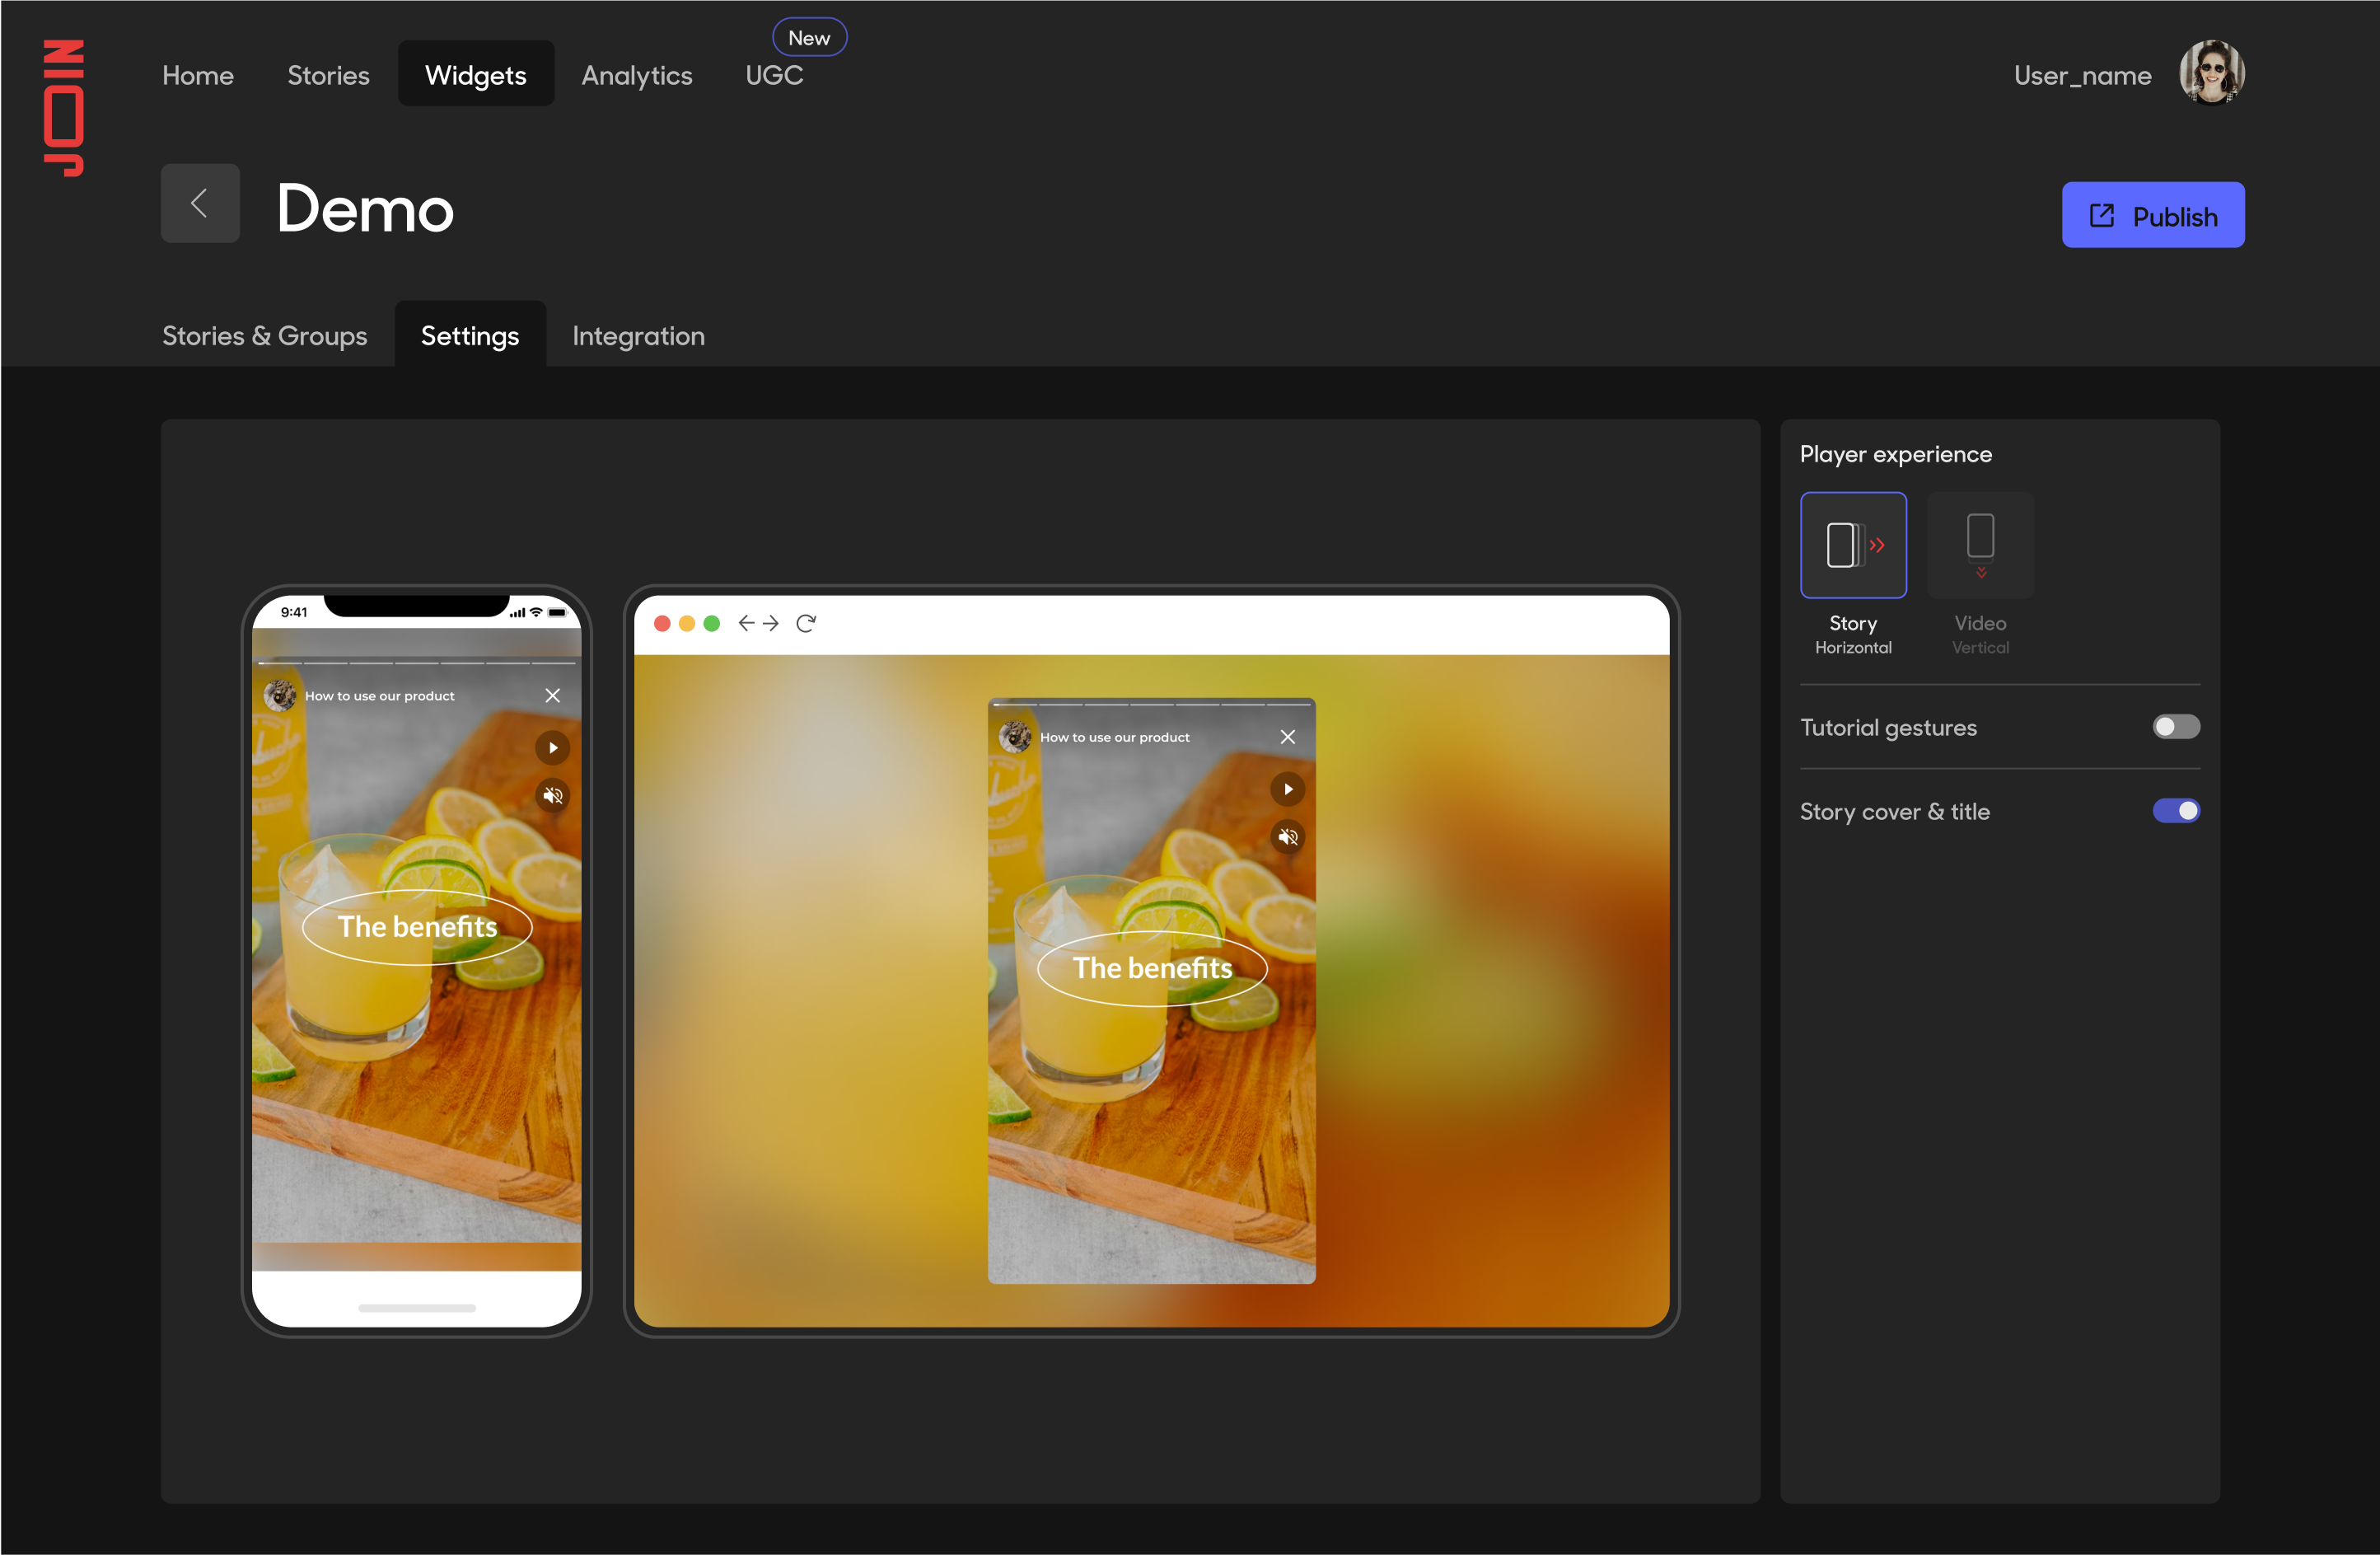
Customize Player experience
Updated about 1 year ago
