
Initial SDK Setup
SDK Installation
On iOS, CocoaPods installs the React Native bridge, while Swift Package Manager (SPM) provides the native JOIN SDK. The setup below configures this dependency automatically.
Requirements
- For iOS: React Native 0.75 or later and an iOS 15.0 deployment target or later. Keep any higher minimum required by your application.
- With Expo: use a development build or a production build. JOIN does not work in Expo Go.
React Native with manually maintained native projects
Install the package:
npm install @join-stories/react-native-widgets
yarn add @join-stories/react-native-widgets
pnpm add @join-stories/react-native-widgets
Configure the iOS Podfile:
Keep your existing React Native configuration and add this hook:
post_integrate do |installer|
  require Pod::Executable.execute_command('node', ['-p',
    'require.resolve("@join-stories/react-native-widgets/scripts/ios_spm.rb", {paths: [process.argv[1]]})', __dir__]).strip
  JoinStoriesSPM.install(installer)
end
If a post_integrate hook already exists, add the JOIN statements inside it. They must run in post_integrate, after React Native’s post_install processing.
Install pods and rebuild:
cd ios
bundle exec pod install
cd ..
npx react-native run-ios
Use pod install if your project does not use Bundler. When building from Xcode, open the .xcworkspace file.
On Android, rebuild your application normally. No SPM configuration is required.
Expo projects using prebuild
Install the package :
npx expo install @join-stories/[email protected]
Add the JOIN plugin to your existing plugins array:
{
  "expo": {
    "plugins": ["@join-stories/react-native-widgets"]
  }
}
Generate and rebuild the iOS application:
npx expo prebuild --platform ios
npx expo run:ios
The plugin configures the SPM integration automatically. You do not need to add the package or embed its framework manually in Xcode.
Upgrading an existing integration:
Remove any explicit pod JoinStoriesSDK declaration from your Podfile. The JoinStories bridge remains installed through React Native autolinking.
After updating the npm package, reinstall native dependencies and rebuild the application. A JavaScript reload or an OTA update is not sufficient.
Commit the configuration changes and lockfiles, including Podfile.lock and Package.resolved for manually maintained native projects.
Android compatibility
JOIN Stories SDK targets Android API level 21 (Android 5.0, Lollipop) or higher.
iOS compatibility
JOIN Stories SDK targets iOS 15 or higher.
SDK Initialization
TeamId and widget alias
You will need your team id and the widgets' alias you want to integrate. You can find both of them in the Integration tab of your widget mobile on studio.
To create a widget, check the documentation
Before using any feature offered by the SDK, you have to initialize it. At the root of your App, you need to do this:
import { JoinStories } from "@join-stories/react-native-widgets";

export default function App() {
	useEffect(() => {
  	JoinStories.init("<your_join_team_id>");
  }, []);

  return <MyApp />;
}
Init SDK with an api key
You can initialize the SDK with an api key supplied by the JOIN technical team. You can add it to the SDK using the initWithApiKey function :
import { JoinStories } from "@join-stories/react-native-widgets";

export default function App() {
	useEffect(() => {
  	JoinStories.initWithApiKey("<your_join_team_id>", "<api-key>");
  }, []);

  return <MyApp />;
}
Proguard rules
If you're minifying your Android application, you need to add this rule to accept objects from the JOIN Stories SDK and avoid certain crashes.
-keep class com.joinstoriessdk.androidsdk.internal.data.model.** { *; }
Add Component
Warning
When integrating, you need to be aware of the widget's lifecycle, as the widget may send request several times during use if it is destroyed and recreated, in the case of a dynamic list.
Destroying and recreating the view will generate a loaded widget, which will be counted towards your pricing
After SDK initialization, you can display your widget anywhere you like, for example on HomePage:
import { JoinStoriesView } from '@join-stories/react-native-widgets';

export default function Home() {
  return (
  	<SafeAreaView>
    	<Text>Welcome !</Text>
      <JoinStoriesView alias="<your_join_alias>" />
    </SafeAreaView>)
}
Good job !
You have integrated your first component and are ready to see stories in your application.
Customization
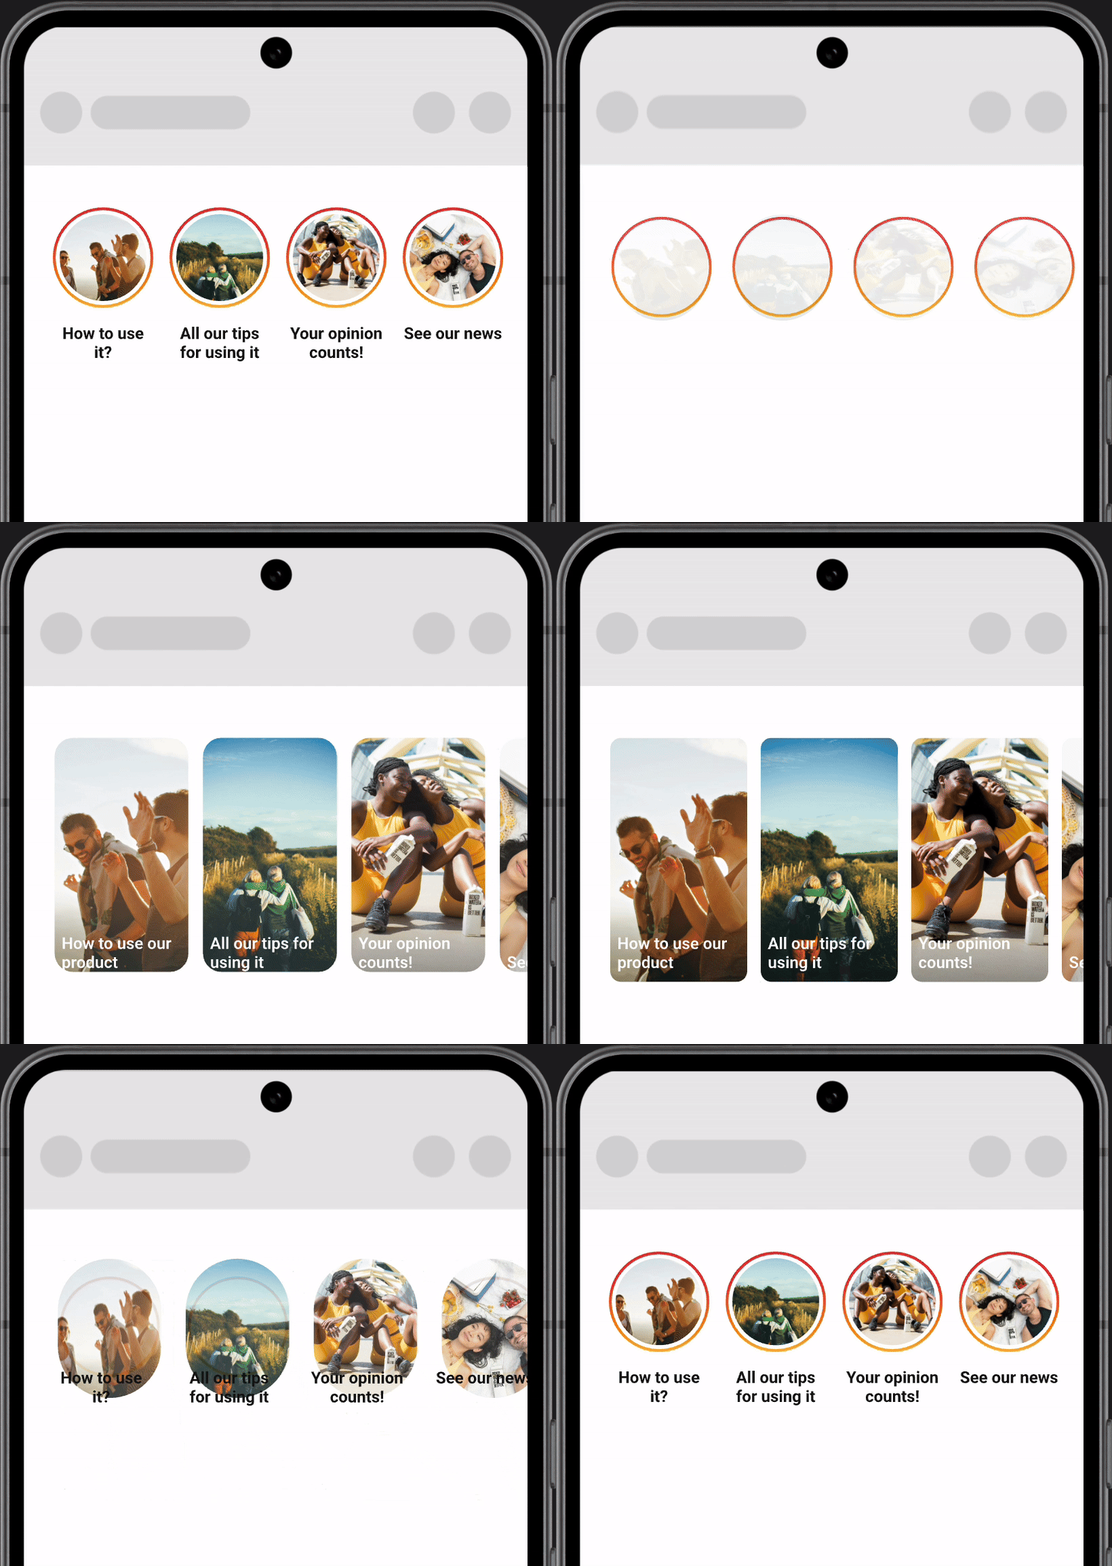
JoinStoriesView is the default view (or trigger). It displays stories in a bubble format like Instagram. You can use other formats like Card. For more info, see UI Customizations.
Vertical Player
Feature available from SDK v2.8.0+
The Vertical Player is a new full-screen playback mode, as an alternative to the classic "story" player (horizontal navigation, chapters). It follows the conventions of vertical video feeds seen on social networks: vertical swipe navigation between stories, a vertical progress bar, and adapted controls.
Enabling the Vertical Player
From JOIN Studio (✨recommended mode for widgets)
On a Bubble or Card widget, set the player experience value to Vertical in the Studio's Player tab (equivalent to the playerType: vertical setting already used on the web widget side).
Once published:
- Tapping a story in the widget automatically opens the Vertical Player in Modal mode, on the tapped story.
- Default value: a widget that has never had this setting defined (null value) is treated as horizontal : no behavior change for existing widgets.
Programmatic opening (Standalone / Modal)
As with the classic player (JoinStoriesPlayer.show()), it must be possible to trigger the opening of the Vertical Player in modal mode from an app action (after a push notification, a tap on an internal CTA, etc.).
For standalone player
import { JoinStories } from '@join-stories/react-native-widgets';

JoinStories.showVerticalPlayer({
  alias: '<your_join_alias>',
  videoSizing: 'fill',
});
Player Embedded
<View style={styles.container}>
	<JoinVerticalPlayerView
			alias="<your_join_alias>"
     	videoSizing="fill"
	/>
</View>
Player Standalone Mode
If you don't need to display bubbles (or cards) and just want to open the player following an action (event, button click, etc.), you can use the player in standalone mode. Simply call a method to open the player as follows :
import { JoinStories } from "@join-stories/react-native-widgets";

export default function Home() {
  const openPlayer = () => {
  	JoinStories.startStandalonePlayer({ alias: '<your_join_alias>' });
  }
  return (
  	<SafeAreaView>
    	<Button title="Open player" onPress={openPlayer} />
    </SafeAreaView>)
}
It will open on the first story of the given widget.
Dismiss Player Manually
If you want to dismiss the player manually, you can use the dismissPlayer method :
import { JoinStories } from "@join-stories/react-native-widgets";

export default function Home() {
  const dismissPlayer = () => {
  	JoinStories.dismissPlayer();
  }
  return (
  	<SafeAreaView>
    	<Button title="Dismiss player" onPress={dismissPlayer} />
    </SafeAreaView>)
}
Info
This method can also be used to dismiss a player opened via a bubble or card component.
Refresh widget manually
You can manually fetch stories from the widget (as after a pull-to-refresh) using the refresh method in the widget classes.
import { Text, TouchableOpacity } from 'react-native';
import { JoinStoriesView, JoinStoriesViewRef} from '@join-stories/react-native-widgets';
import { useRef } from 'react';

export default function Page() {
  const storiesViewRef = useRef<JoinStoriesViewRef>(null);

  const handleRefresh = () => {
    storiesViewRef.current?.refresh();
  };

  return (
    <TouchableOpacity onPress={handleRefresh}>
      <Text>Refresh Stories</Text>
    </TouchableOpacity>
		<JoinStoriesView
      ref={storiesViewRef}
      alias="alias"
		/>
  );
}
Product Matcher (productId)
productId)productId is the runtime parameter used by Product Matcher.
It allows JOIN to match a widget request to the right product context in JOIN Studio:
alias: your generic Studio widget/page configurationproductId: the current product in your app
This lets you keep a single generic integration and serve dynamic product-specific content.
<JoinStoriesView
	alias={PRODUCT_ALIAS}
	productId={validProductId}
/>

<JoinStoriesCardView
	alias={PRODUCT_ALIAS}
	productId={validProductId}
/>
Validation rules
An error is returned in these two cases:
productIdis provided, but the widget is not configured for Product Matcher.productIdis missing (or empty), but the widget is configured for Product Matcher.
Set Up Player Listener
Add Listener
The JOIN Stories SDK exposes a listener who notifies the application when an event occurs on your widget and player. You can register the listener using the following code example.
import { JoinStoriesView, JoinStories } from '@join-stories/react-native-widgets';

export default function Home() {
  useEffect(() => {
  	const playerListener = JoinStories.addPlayerListener((event) => {
      console.log('event received', event);
    });

    return () => {
      playerListener.remove();
    };
  }, [])

  return (
  	<SafeAreaView>
    	<Text>Welcome !</Text>
      <JoinStoriesView alias="<your_join_alias>" />
    </SafeAreaView>)
}
Events
Here is a list of the events you can receive:
| EventType | Payload | Description |
|---|---|---|
| TriggerFetchSuccess | itemCount(number): number of stories that were retrieved. | This event tells you that the trigger has completed its network operations and that there are stories to display. |
| TriggerFetchEmpty | This event tells you that the trigger has completed its network operations and that there are no stories to display. This can happen if the add alias has no stories configured or if there are no stories already stored locally in offline mode. | |
| TriggerFetchError | message(string): error message | This event tells you that the trigger has completed its network operations and had a problem while fetching your stories. |
| PlayerFetchSuccess | This event tells you that the player has completed its operations (network or local) and that there are stories to display. | |
| PlayerLoaded | This event tells you that the player is loaded and playing the stories | |
| PlayerFetchError | message(string): error message | This event tells you that the trigger has completed its operations (network or local) and had a problem while fetching your stories. |
| PlayerDismissed | state ('auto' | 'manual') | This event tells you that the player has disappeared and how. It can be automatic when all the stories have finished being viewed without any user interaction. It can be manual when it's the user who makes the player disappear or via an event implemented in the application. |
| ContentLinkClick | link (string): CTA link | This event tells you that a user has clicked on a CTA in the player. By default, it will try to open a web browser. |
If you are using typescript, you can also import and use the PlayerEvent type.
Prevent default behavior
Some events are followed by specific actions (i.e ContentLinkClick tries to open the link in a browser). To prevent this happening, you can call event.preventDefault(). See :
import { JoinStoriesView, JoinStories } from '@join-stories/react-native-widgets';

export default function Home() {
  useEffect(() => {
  	const playerListener = JoinStories.addPlayerListener((event) => {
      event.preventDefault()
      // implement your own logic
    });

    return () => {
      playerListener.remove();
    };
  }, [])

  return (
  	<SafeAreaView>
    	<Text>Welcome !</Text>
      <JoinStoriesView alias="<your_join_alias>" />
    </SafeAreaView>)
}
Updated 17 days ago